If your home or building has old floor tiles, they might contain asbestos. Asbestos was commonly used in tiles before the 1980s for durability and fire resistance. But disturbing asbestos releases harmful fibers that can cause lung diseases.
Before renovating or removing old tiles, testing for asbestos is essential. This guide walks you through the process, helping you decide whether to test yourself or hire professionals.
[Read more: Where Is Asbestos Found In Homes ]
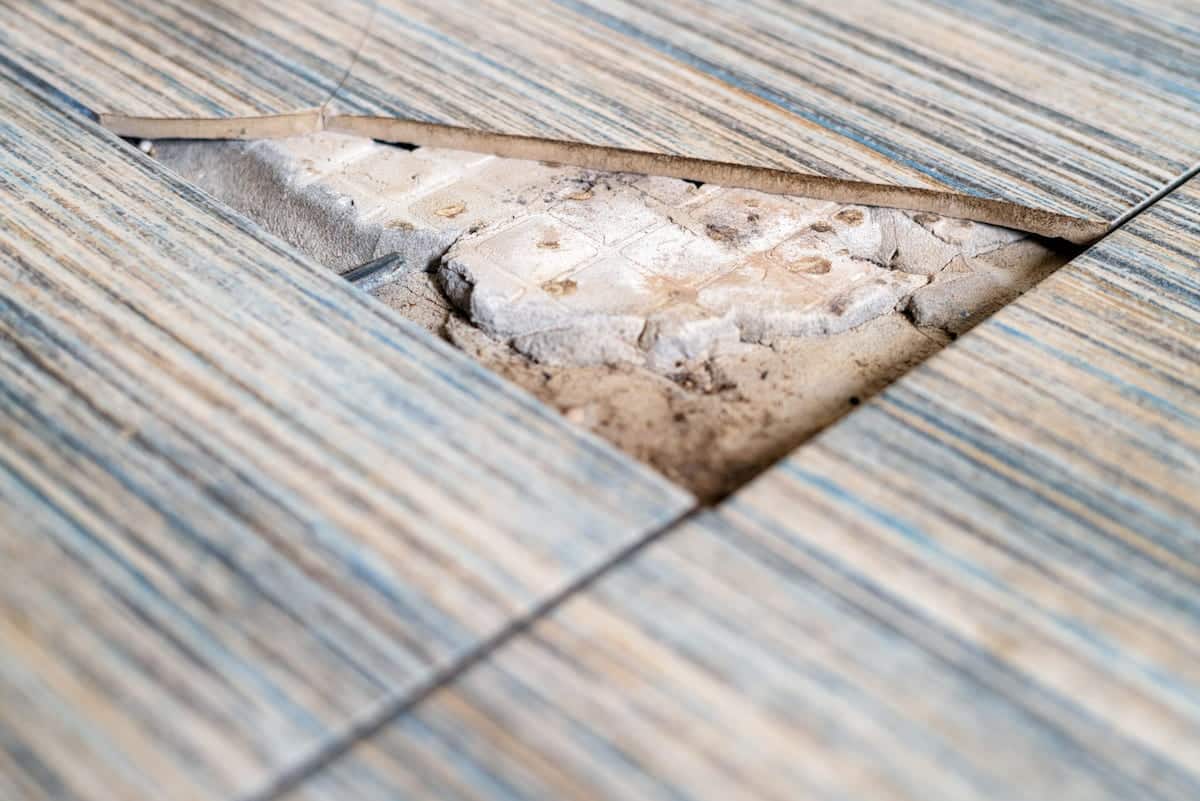
How to Identify Floor Tiles That May Contain Asbestos
- Check the Age: Tiles installed before the mid-1980s are more likely to contain asbestos.
- Look at the Size: 9×9-inch, 12×12-inch, and 18×18-inch tiles from that era often had asbestos.
- Examine the Color and Brand: Some dark-colored asphalt-based tiles and specific manufacturers are linked to asbestos.
- Check the Adhesive: Old black mastic (glue) may also contain asbestos.
- No Visible Clues? The only way to be sure is through testing.
Testing Methods for Asbestos in Floor Tiles
1. Professional Lab Testing (Recommended for Accuracy)
- Purchase an asbestos test kit from a reputable provider.
- Follow the safety steps below to collect a sample.
- Mail the sample to a certified lab.
- Receive results within a few days.
2. DIY Asbestos Test Kits (Less Reliable, More Risky)
- Available at hardware stores.
- Require careful handling to avoid fiber release.
- Lab testing is still needed after sample collection.
3. Hiring a Certified Asbestos Inspector
- The safest and most accurate option.
- Inspectors know where and how to take samples without spreading fibers.
- Ideal for large properties or when multiple materials need testing.
How to Safely Collect an Asbestos Sample
If you choose to collect a sample yourself, follow these safety steps:
- Wear Protective Gear: Use an N95 or P100 mask, gloves, and disposable coveralls.
- Dampen the Area: Lightly mist the tile with water to prevent dust.
- Carefully Remove a Small Piece: Use a putty knife to lift a sample (about 1 square inch).
- Place in a Sealed Bag: Double-bag the sample in zip-lock bags.
- Label and Send to a Certified Lab: Follow lab instructions for mailing.
- Clean Up Carefully: Wipe the area with a damp cloth, then dispose of gloves and coveralls.
What to Do If Your Tiles Contain Asbestos
- Leave Them Undisturbed: If the tiles are intact, it’s often safer to leave them in place.
- Encapsulation: Cover the asbestos tiles with new flooring rather than removing them.
- Professional Removal: If asbestos removal is necessary, always hire a licensed asbestos abatement company.
- Legal Disposal: Asbestos materials must be disposed of according to strict regulations.
Conclusion
Testing for asbestos in floor tiles is crucial for your safety. DIY kits exist, but professional testing ensures accuracy. If asbestos is present, the best course of action is to leave it alone or seek expert help.
For those in Vancouver, licensed professionals like Synchron Demolition specialize in asbestos testing in Vancouver and can safely test and remove asbestos flooring, ensuring your home or workplace stays hazard-free. Don’t take risks—consult experts when dealing with asbestos.